Sunday, December 25, 2016

DIY graduation tassel ornaments

My graduation tassels have just been laying around and I found a great idea on Pinterest (shocker!)
Materials:
  • Large clear plastic ornaments ($0.98 at Walmart)
  • Tassel(s)
  • Puffy paint (optional)
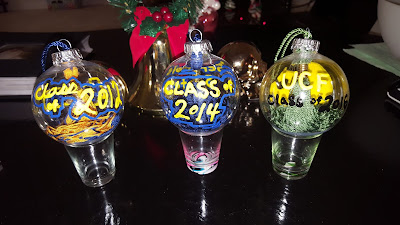
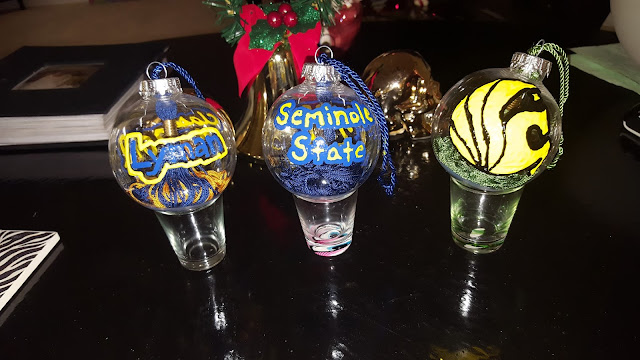
I bought 3 ornaments since I had 3 tassels from Lyman High, Seminole State College, and University of Central Florida. 

 All you have to do is insert the tassel into the ornament but I had trouble with my UCF tassel since the charm was too large to fit into the top. For the UCF ball I cut into the side of the ball and pushed it in and then covered the cut with puffy paint.
 Poke a large hole inside the top of the foil ornament hanger so the tassel thread will fit through.
 The top of the tassel will be used to hang the ornament on the tree.
 After the tassels are all in place add decoration as you see fit.
 I drew on my graduation year and the school name/emblem.
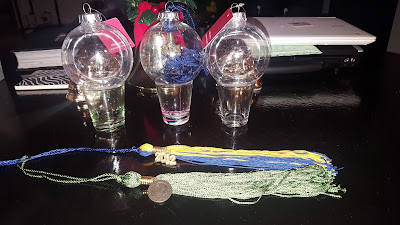
And hang!

Just a little extra:
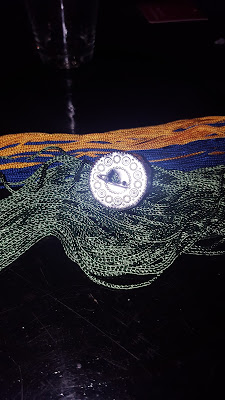
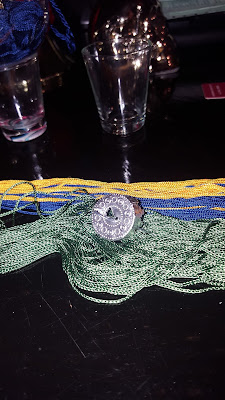
I finally hung up all of my degrees and I wanted to incorporate my graduation cords and medals.
 I gotta say I'm just showing off my work, : )

Christmas cards

So I moved 
and its Christmas time!
Why not make a card and let everyone know?
Materials:
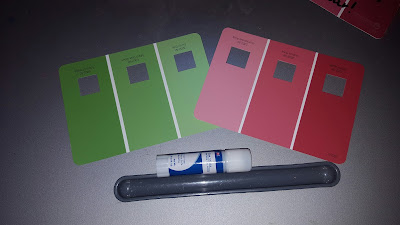
  • Paint chip samples (Green & red for the holidays) - from Lowes
  • Holiday picture with the new place in the background (size 4x4) - from Walmart $0.29 each
  • Glue stick
  • Mini bells and ribbon
  • Markers/pens
Originally I found the paint chip idea here and I put my own little spin on it. 
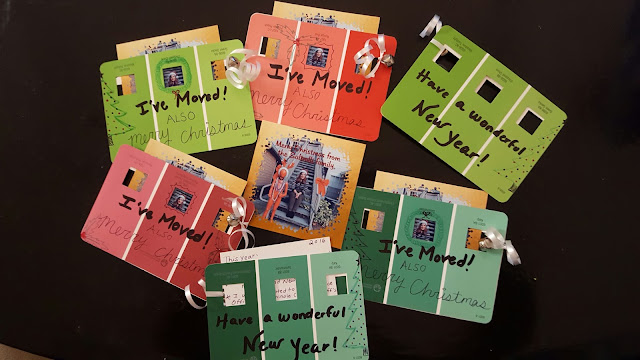
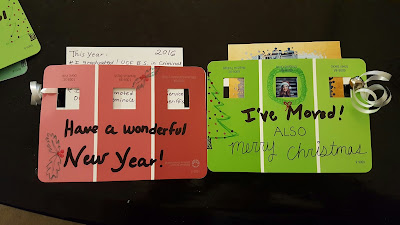
The paint chip already had square cut outs and when I glued them together to make a pouch my picture (size 4x4) fit perfectly as a preview. 
I took a picture in front of my new place with my roomie, Timmy the mannequin. A lot of my friends know of Timmy but on the back of the picture I explained that I adopted Timmy almost 3 years ago and that he is a retired GAP model. I think it makes the Christmas card just a tad bit funnier. 
 I printed out my pictures from Walmart and their instant picture machine gave me the option to add a boarder and text for free. 
 On the front I wrote "I've Moved! Also Merry Christmas".
And on the back "Have a wonderful New Year!"
Just add holiday drawings and a mini bell tied in one of the cutouts with ribbon. 
Easy to make and only $0.76 each to make (including the stamp on the envelope).

Sunday, October 9, 2016

Re-do Beetlejuice costume

Halloween is almost here!
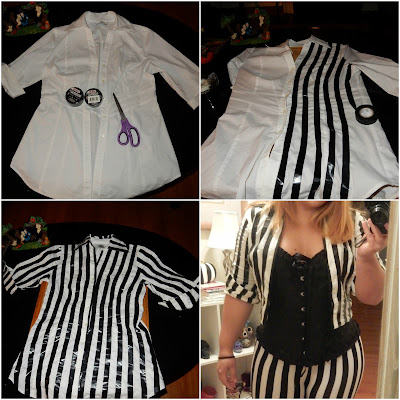
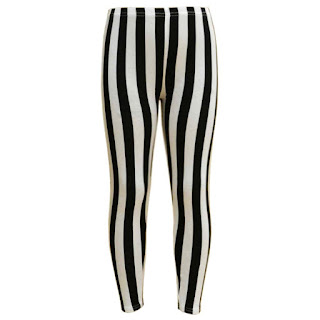
The first jacket I taped up was very heavy and the stripes did not match the leggings I bought,
so Re-do it is.
I went back to the thrift store and the only thing I could find was a long white button down shirt but it looked good as an open jacket also.
Finished look: Under the jacket I wore a black corset with striped leggings and high heel boots. I sprayed my blonde hair green (a little too much- I looked like the Joker) and applied white powder to my face, purple eye-shadow and green shadow to my forehead.  

Materials:
  • White shirt/jacket (Goodwill $4)
  • Black electrical tape (2pk at Dollar Tree)
  • Scissors
  • Cork board (optional)
 I laid down a cork board in the shirt & then buttoned it up to make the shirt more stable.
 Depending on your pants you'll want to determine the width of the tape. My pants were just a little bit wider than the width of the electrical tape so I only laid down 1 strip of tape instead of the two I did with the last jacket. 
 Keeping on taping. 
For the arms I striped them vertically but in the movie Beetlejuice has horizontal sleeves. Horizontal sleeves tightened the material too much so I opted for vertical.
 For the sleeves make sure to tape them all the way to the end seam.
***When trying the shirt on I liked it better folded up to make it more fitted. It was easily taped inside with extra electrical tape. 
Image result for black lace up corset amazon
Black corset, bought in 2016 for $6 on Amazon but my oh my have those prices changed. 
I ordered an XL but could have gone down to a L. 

I purchased my leggings for $9.99 through Amazon but of course the price will change. 
Ajvani womens high heel block platform ankle low chelsea shoes boots booties
The shoes were pretty expensive, $15 plus $10 shipping on Amazon & no longer available.  


Tuesday, October 4, 2016

Hanging planter

DIY String Hanging Planter
I made 1 large planter and 1 long planter with 3 mini pots.
Materials:
  • Clay pots (large pot Walmart- $1.50 & 3 mini pots $1 at Dollar Tree)
  • Strong outdoor string ($2.87 at Walmart)
  • Scissors
  • Plants (I bought a stawflower cactus & a grafted cactus from Walmart- $3 each)

 Cut 8 pieces of string as long as you desire but make sure its long so you can hang the pots from the ceiling (approx 2 feet or longer)
 Double knot the end 
 Separate the string into four groups of two and knot each strand, making the knots at the same length when comparing the groups together.
 Tie together 1 string from 1 group to another string in the neighboring group. Repeat for all remaining 6 strings.
 While tying each string make sure to check that the knot lines up in length with all the other knots so the hanger has an even look. 
 Take a break between each knot layer and pull the hanger onto the pot to make sure it fits.
 Knot the excess string about 8 inches up from the pot.
 Hang to make sure the length of the excess string is long enough, I braided extra string and added it to make it long enough to hang from the ceiling. 
 Adding the cacti. Small rocks placed on the bottom on the pot.
 Added dirt
 Add cacti!
Hang!
 
 For the 3 mini pots cut 8 pieces of string, about 3 feet long. Repeat the same steps for tying the 4 groups together. When done with the first pot tie the excess string about 3-6 inches up from the pot. Pictured here looks about 3 inches, my string was not long enough (about 2 feet) so I definitely suggest cutting the string longer. 
 Repeat each group step for each pot.